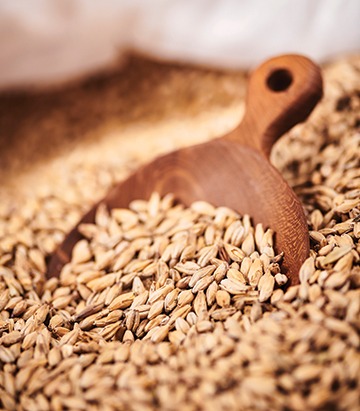
Brewing With Alternative Grains
In the traditional Western brewing canon, the grains of choice have always been barley and wheat. Even in the earliest records of human civilization in ancient Sumer, fire-baked clay tablets record endless wedges of cuneiform detailing movement of so many silas (roughly a quart/liter) of different grades of barley and wheat (different grades yielding different quality levels of beer). While the exact varieties have changed over the millennia from Mesopotamia to modern times, barley and wheat have been a constant.
Over time, other standard adjuncts joined the brewer’s toolbox — like rice, maize, and oats — each bringing its own qualities to the pint glass. They provide easy-to-ferment sugars. Rice provides a crispness. Corn provides a candied note. Oats contribute a rich silkiness perfect to counterbalance intense hoppiness.
But, stepping outside into the wider world, anything that provides starch or sugar has inevitably found its way into the local alcoholic beverage. If it’s available, convenient, and cheap, then into the booze vat it went. Other crops provide a chance to use plants that grow with better ecological and economical footprints. Think beer with less water and pesticide usage and improved quality of life for farmers. Beyond the yeast fuel, each ingredient brought a local flair that made that drink, the local drink.
As brewers strive to find “new” flavors, they’ve reached into other traditions and areas. With modern shipping they don’t even have to risk life and limb on death defying trips to far flung corners of the globe to try something new! You can just picture our ancestors shaking their heads at the almost absurd surfeit of modern life.

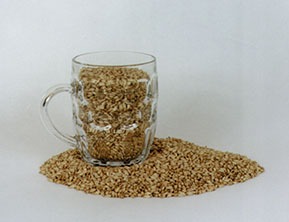
One of the beauties of homebrewing is how easily we can tap into the world’s largess. We have a freedom at our ridiculously small scale. You don’t need a shipping container of grain, not even a full sila. Anywhere that provides grain — the homebrew supply shop, the grocery, the local “international” market, and the online mega-marts — can provide you unique brewing opportunities. With a few simple processes and some light Googling, you’ll be set!
There are a few considerations you need to take into account when looking at a grain you’ve never brewed with before to make sure you get the most out of your experiment.
Pre-Treatment
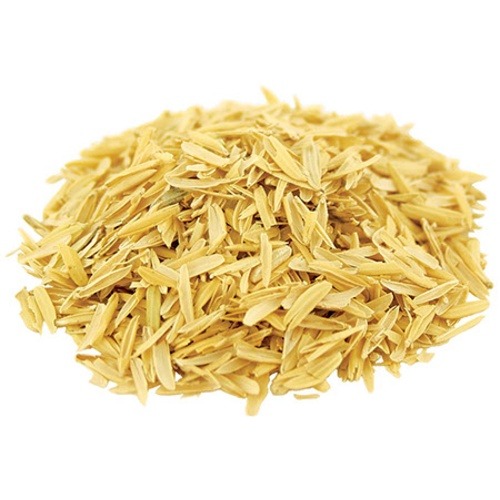
First things first, does your new ingredient require any pre-treatment before use? Quinoa, which is technically not a grain, but a seed from the Chenopodium quinoa plant, benefits from being washed to remove bitter flavors that would detract from your pint. Other grains like unprocessed fonio have a husk that must be removed and even good old-fashioned maize can have germs that should be removed due to oil content or harsh flavors. Often, by the time you purchase these ingredients, the pre-treatment has been done for you. The point is, know what or if something needs to be done before you toss it into your mash tun.
Busting Out the Starch
If you’re using a grain that’s been par-cooked — like grain flakes that are steamed and smashed between rollers (think your classic oats) or torrified/puffed/popped (think puffed wheat, Rice Krispies) — you don’t have to worry about this next bit. But if your grain is just basic kernels or ground, you may need to do something to access the starch needed for brewing.
If you’re using unprocessed grains, you’ll need to figure out its gelatinization temperature. Think of a grain kernel as a lockbox filled with starch. All that fodder is locked away safe from amylase enzymes that would dare to convert it to sugars usable by yeast. Each lock opens when you hit at or above the right temperature for long enough to bust the starch free of the caging. Once gelatinized, the starches move into solution and can be transformed by the enzymes in the mash. A simple search of the web will usually get you in the ballpark (quinoa, for instance, is in the 145–170 °F/63–77 °C range, according to a quick Google). If your grain is coming from a brewery supplier then they will have the information on hand.
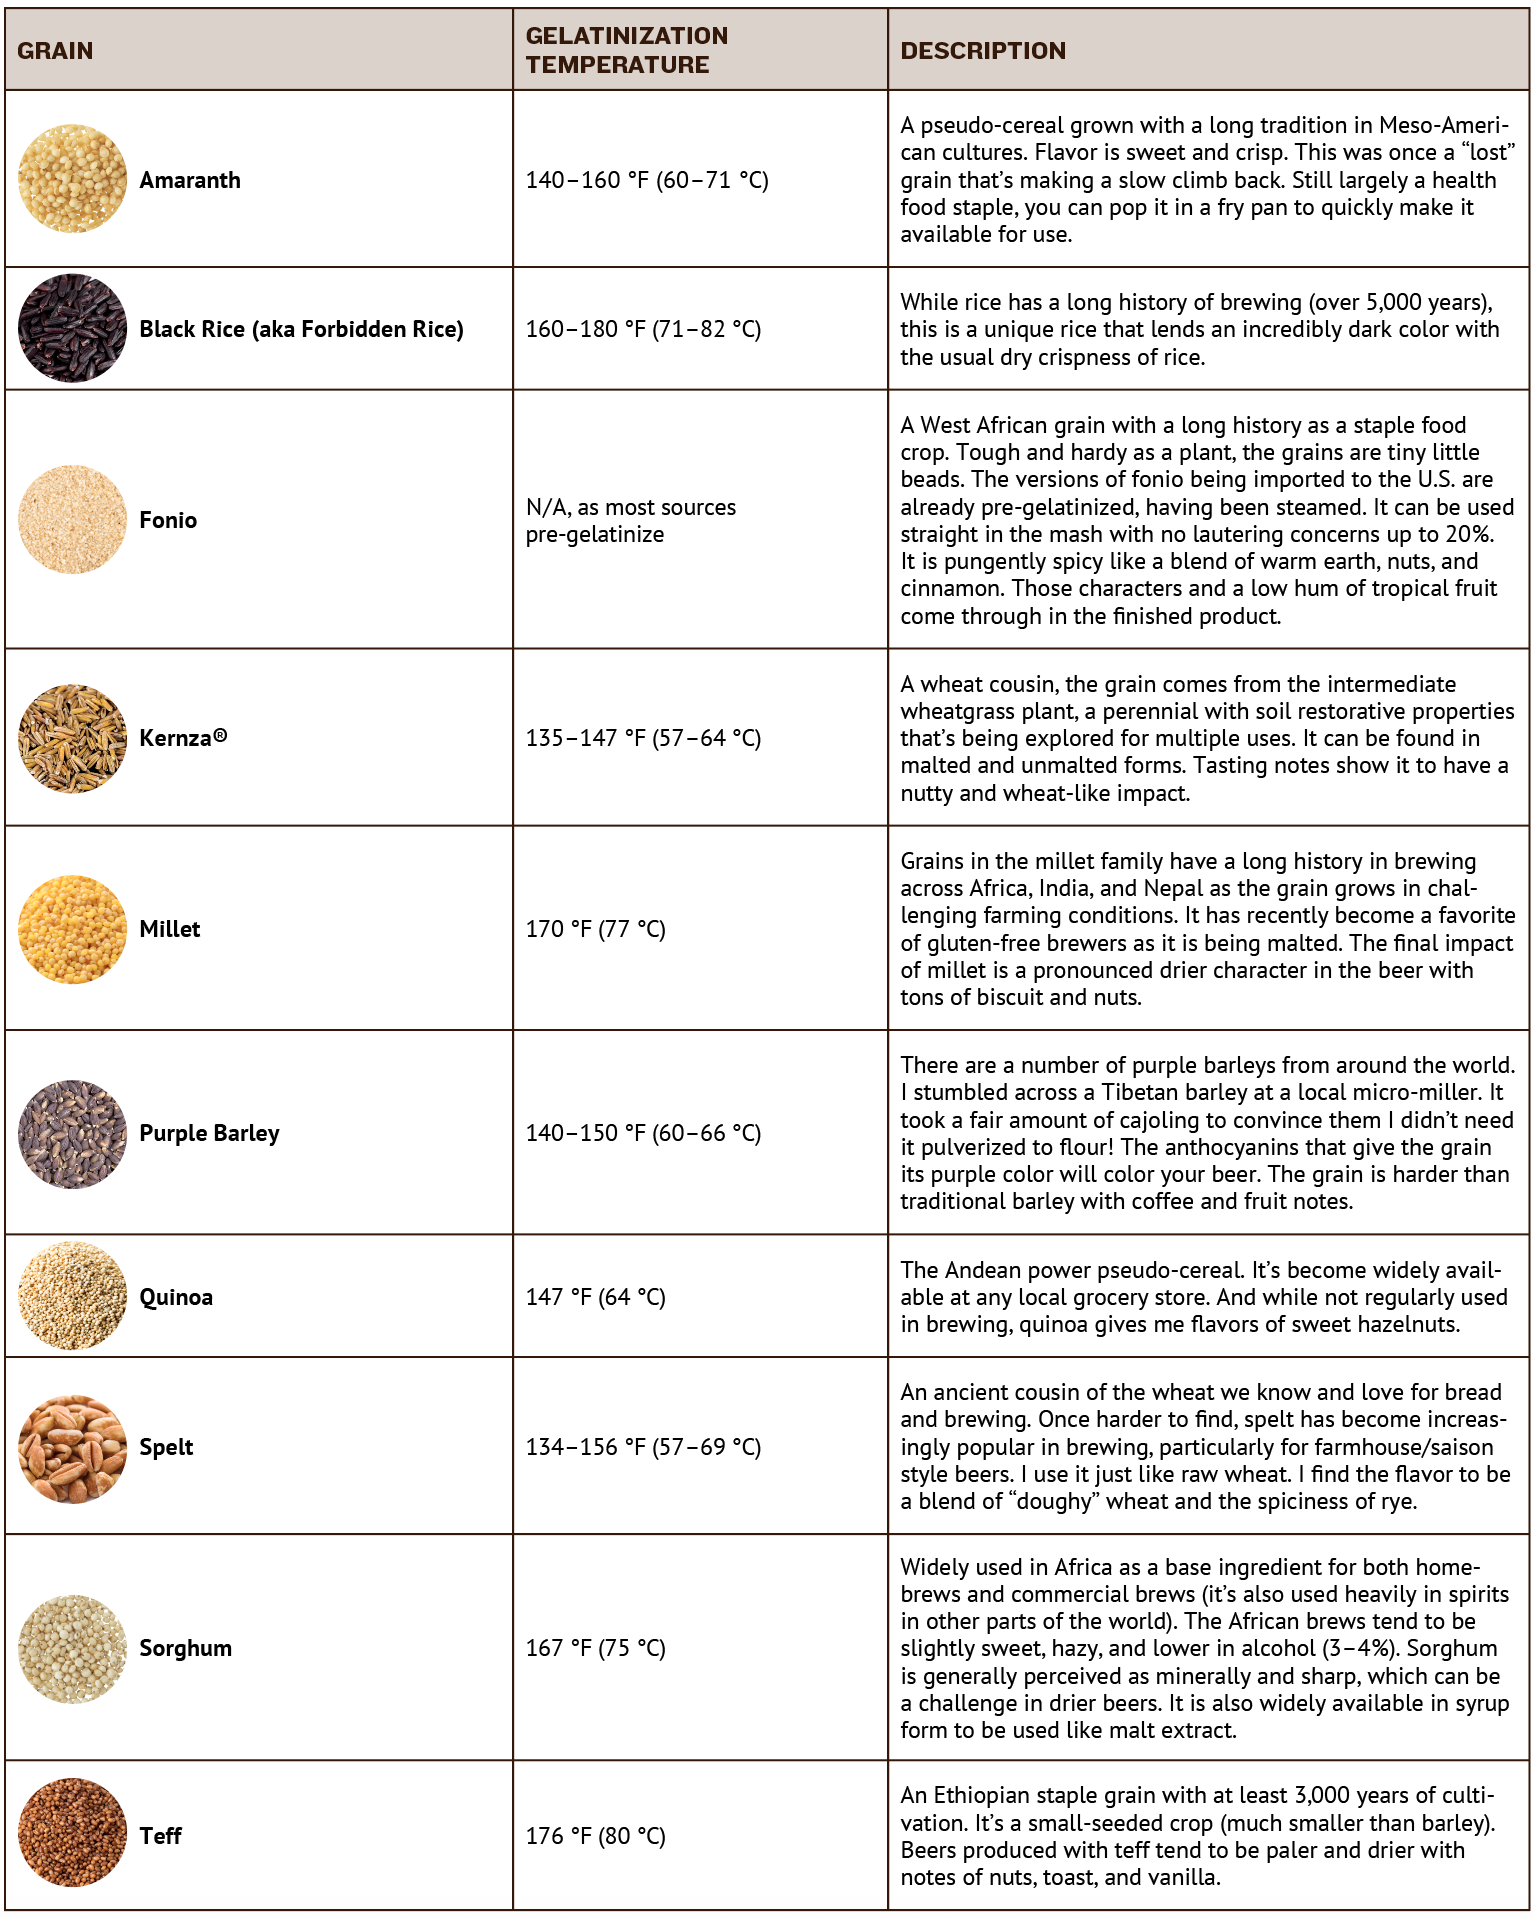
For a handful of alternative grains that I’ve seen brewers use and their gelatinization temperature ranges, check out the list at the end of this section.
If you’re lucky and your grain is either par-cooked or the gelatinization range is at or below standard mash temperatures, you can proceed as normal (many wheat variants nestle perfectly in our mashing range, making them an easy fit). Chuck the grain in the mash and go. If it isn’t, then you’ll need to cook the grain first.
There are a number of ways of doing this — decoction mashes are used in African brewing practices to deal with the higher temperatures required for millet and sorghum (two of the continent’s foundational beer ingredients). By pulling grain from the mash and bringing it to a boil, the locks will be busted, at least for most of the grain. You can do a decantation mash — instead of pulling grain like a decoction, you pull as much of the wort as you can from the mash and bring the whole mash body to a boil (found in African and gluten-free brewing practices). Or you can even do an American cereal mash, which cooks the pesky grain separately (think uncooked rice or corn) and then add the cereal to the main mash as a heating element.
And if all of that is too much for you, you can always go old-fashioned and make a loose porridge with the grain, cool it, and add it to the mash. You can even do that the night before! Remember, the purpose of this step isn’t to make subtle, al dente grain bites, it’s to smash open the granary stores of starchy goodness so we can give our yeast sweet, sweet sugar.
For the mad science brewer, there are blends of enzymes (like Ceremix Flex, a blend of maltogenic amylase, alpha amylase, and pullulanase) that will bust the starches out of their lockboxes and ready for conversion — no gelatinization required. By using these blends, you can avoid the need to separately cook your cereals and run a “normal” mash (following the recommended mash schedule). You can find the enzymes and specific instructions on using them largely through the gluten-free brewing community. They use them with gluten-free malts to produce wort that flows freely instead of being turned to porridge. Keeping extra enzymes (either a blend or just straight alpha amylase) on hand is a good brewing practice for days when you’re experimenting, or even as insurance for when things go wrong!
A Brief Catalog of Alternative Grains
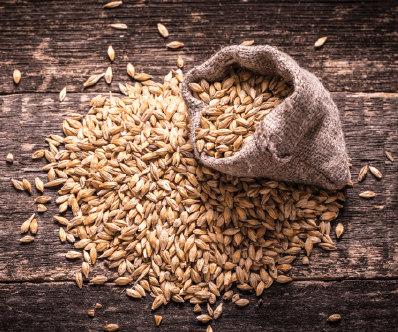
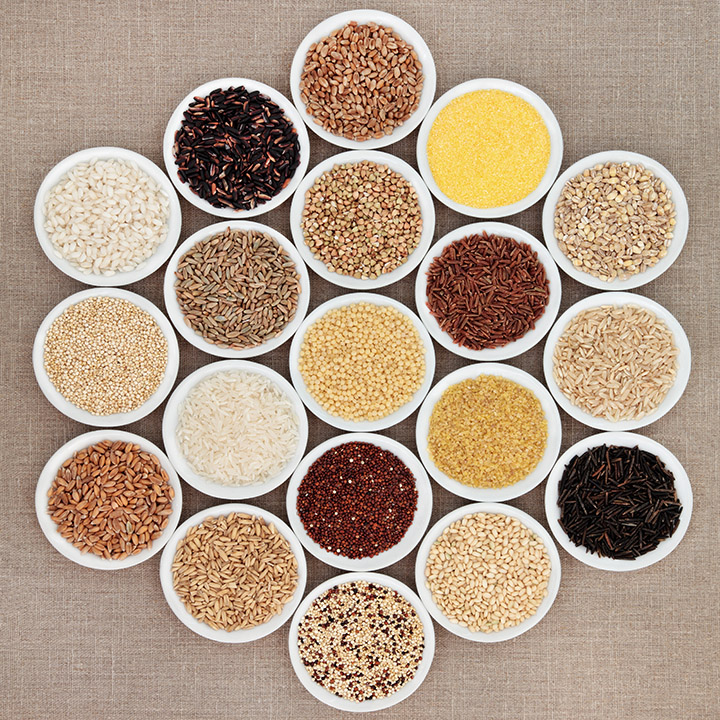
Here are a few examples of readily available grains from around the world that can take your beer in different directions. Some grains have long brewing histories (millet, sorghum, black rice), while others are relatively new. Again, keep in mind we live with an embarrassment of riches and just about anything starchy can prove to be interesting brew fodder.
Enzymes In General
When brewing, we rarely give enzymes a thought beyond “if I select this mash temperature, I favor the action of this enzyme,” but once you start reaching outside of trusty barley and wheat, you’ll need to pay attention.
Fortunately, maltsters have made it easy for you and provide a diastatic power score for their malt. This is usually expressed in American and British brewing circles in degrees Lintner. (There are a few different systems, but I prefer Lintner, so there we are). If your target grain is coming from a malt supplier, they should be able to tell you at least if a grain can “self-convert.” If not, you’ll need to pack in enough enzymes to convert the starchy goodness to sugar. Remember that excess starch in the fermenter provides a wonderful food source for contaminants since brewer’s yeast can’t touch the stuff!
The general rule of thumb for making sure you have enough enzymes is to calculate your mash’s “average diastatic power” and if it’s 40+, you’re in the clear. To calculate this, take the diastatic power index for each of your grains and multiply it by the weight to determine a total value for each addition. Add those values together and divide by the total weight of the grain bill.
Grains like low-color American 2-row or 6-row (Pilsner/pale) are insanely enzymatically hot with Lintner values like 120–160. They provide enough power to convert two pounds/kg of adjuncts for each pound/kg of base malt. German Pilsner malts (~80) are still capable of converting one pound/kg for one pound/kg. When you get to darker and toastier malts, like a British pale ale (~50), you see a quick drop-off. It’s generally safe to assume that paler malts and lager malts have higher enzyme levels.
If you’re flying blind, it’s always safest to assume you won’t get any additional enzymes from the new grain. Extra enzymes never hurt to have when playing around! Now you can see why I say that American malts are enzymatically hot enough to convert starch three buildings away that looked at them funny. (It should come as no surprise that American growers have been influenced by the corn and rice-heavy American
industrial beers.)
Designing Your First Recipe
With the science out of the way, you’ll need a recipe to learn what your new grain can do. If it’s an ingredient with traditional brewing uses like sorghum and millet, you seriously should consider running with a recipe from the grain’s source. After all, they’ve had experience with what can and can’t be done with this grain that you’re looking at for the first time. Break out of your well-traveled lanes. Try these new-to-you processes and flavors. And thanks to the same global supply chain that brought something like teff to your hands, you can now easily get other traditional ingredients like the gesho leaves used to bitter Ethiopian beers and meads. If you don’t want to commit to a full-sized batch, then by all means make a smaller 2-gallon (8-L) batch. It’ll be a less intensive, less expensive, less wasteful brew day that gives you a chance to find different flavor patterns for your palate.
Alternatively, if you just want to figure out how to use it in a new creation that’s fermenting in the back of your mind, take a cue from the world of SMaSH (Single Malt and Single Hop) beers. Instead of brewing a SMaSH, brew a SMAH (Single Malt, Adjunct, and Hop) beer. Keep it simple with a base malt that either gets out of the way or can complement the grain. There’s absolutely nothing boring about a Pilsner malt recipe; many styles, like Bavarian hefeweizen (Pilsner malt, wheat, bittering hops), are SMAH beers. Keep the hops unobtrusive like my favorite, neutral, and clean Magnum. Remember, there’s nothing stopping you from brewing a “simple” beer and then adding dry hops or other flavors once you’ve learned what you needed to.
For the adjunct, using 10% of the grain bill is the safe place to start, but many adjuncts really show off at 20%. Then some, like wheat, are pretty happy being nearly the whole beer, but keep those higher percentages to later experiments for now. Also, those higher percentage experiments will make you thankful you followed my earlier advice about keeping additional enzymes on hand! After making these first flavor-probing forays, you’re ready to play!
Check out my SMAH recipe below for a good starting point if you want to get a feel for a new grain and really taste the flavors it contributes to your brew.
SMAH, The Beer, All-Grain
(5 gallons/19 L, all-grain)
This recipe is a starting point, calling for ~10% of an adjunct and keeping everything else out of the way so you can focus on this “new” ingredient. If you’re feeling bold, double the adjunct and lower the main malt bill. (Note, depending on the adjunct used, the gravity and color can vary widely. It should result in a beer of about 5% ABV, but we will skip listing specific recipe statistics given the possible variance.)
Ingredients
10 lbs. (4.5 kg) pale 2-row malt
1 lb. (0.45 kg) adjunct of choice
7 AAU Magnum hops (60 min.) (0.6 oz./17 g at 12% alpha acids)
Neutral ale yeast, such as SafAle US-05 or Wyeast 1056 (American Ale)
¾ cup corn sugar (if priming)
Step by step
Mash grains at 150 °F (66 °C) for an hour. Mash out and collect 6 gallons (23 L) wort for a 60-minute boil. Proceed as usual.
Notes:
Use a neutral water profile. Depending on the adjunct used you may need to prepare it differently. It shouldn’t be a problem at this level of adjunct inclusion, but if you’re feeling nervous, a handful of rice hulls can be added for extra lautering insurance.
An Express Taste Test Tip
To get a quick sense of what an ingredient will bring to the glass, take a taste! Pop a small amount of prepared grain into your mouth and give it a chew. Let the sample sit in your saliva for a minute or two. As the enzymes in your saliva attack the mass, you’ll perceive the newly available sugars. Take notes on the flavor. Breathe out through your nose and note the aroma. Now you have practical taste experience that, when combined with grain supplier data sheets and any test beers, can guide your further brewing.
Before you get too wobbly from the idea of using your saliva to free up sugars for a taste, remember that even today saliva is used as a kick starter to traditional forms of corn beers from around the Americas.
Getting Playful
Despite my insistence that the simplest recipe is the best recipe, man does not live on simple beers alone. Particularly in this day and age of culinary-inspired beers and pastry stouts as attention getters, there’s a reinforced sense of playfulness in brewing. When you have additional ingredients beyond barley and wheat, you add new colors to your flavor palette.
It’s easier to talk about the simple recipe concept — it’s focused, it’s driven to a singular point, and it leans on the well understood K.I.S.S. principle. Telling you how to play successfully is like describing the “one true way to paint,” but I’ll give you a couple of pointers.
Understand the flavor you’ll get from each of these ingredients. (For instance, Sorghum is renowned for a sharpness that you don’t find in other grains.)
Use the SMAH beer to cement the actual impact.
Picture the experience you want — what role does your alternate grain play? Is it the star of the show? What other elements do you need to support it? (Remember, the point isn’t to say “I made a teff beer” as much as, “I made this great beer that uses teff to a purpose.”
And because the K.I.S.S. principle is a universal law, don’t go overboard with your choices. Don’t sling seven different grains in the tun when three will do the trick!
The Practicum — A Study in Fonio in Two Parts

Here’s an example of grain testing from my own homebrewing. Recently, RahrBSG began importing an ancient West African grain called fonio. They sent me samples and turned me loose on it. It’s clear from looking at their specification sheets and reading the language that they picture the grain as providing a boost to the tropical fruit characters popular in modern American IPAs. Thanks to their guides, I knew I could use up to 20% of the stuff in my mash tun with no trouble. Several breweries have done 100% fonio beers, but that’s madness beyond my daring!
Before I brewed, I cooked up a portion using a simple recipe from Senegalese-born chef and fonio cheerleader, Pierre Thiam. It showed Fonio’s deep earthy and cinnamon spiced tones that I wanted to capture in my final beer.
I ended up creating two recipes. One was a tropical-oriented modern pale ale with a whirlpool charge of mango-heavy Styrian Wolf hops. Using the new Gambrinus IPA malt provided an unobtrusive base for a beer that ended up being surprisingly hop-forward with the spicy earthiness of the fonio providing an accent to the Thai-like hop aroma. This U.S. homebrew ended up being truly global with Canadian malt, West African grain, and German and Slovenian hops. Find this recipe, named Fonio Gold, below.
Fonio Gold, All-Grain
(5 gallons/19 L, all-grain)
OG = 1.051 FG = 1.011
IBU = 32 SRM = 4 ABV = 5.3%
The intention on this beer was to take advantage of the crisp and tropical fruit character of fonio to give an extra hop dimension to an otherwise neutral beer. You’ll see how this builds on the SMAH concept while showcasing the truly global nature of brewing today!
Ingredients
8.5 lbs. (3.9 kg) Gambrinus IPA malt
1.9 lbs. (0.9 kg) fonio, pre-hulled, par cooked
7 AAU Magnum hops (60 min.) (0.6 oz./17 g at 12% alpha acids)
1.5 oz. (42 g) Styrian Wolf hops (whirlpool)
Neutral ale yeast, such as SafAle US-05 or Wyeast 1056 (American Ale)
¾ cup corn sugar (if priming)
Step by step
I used the Bru’n Water “Gold Dry” water profile with higher sulfate levels for this beer. Mash the grains at 152 °F (67 °C) for 60 minutes, lauter, and collect 6 gallons (23 L) of wort. Boil for 90 minutes, adding hops as indicated. Cool to 180 °F (82 °C) and then add the whirlpool hops and rest for 20 minutes before chilling to fermentation temperature. Ferment and package as normal.
Notes:
Fonio is incredibly small, almost the size of the material used in a sandblasting cabinet. As such, it can slip down through the mash and settle on the bottom of the mash tun. I helped mitigate some of that by mashing in the grains separately. Stir in half of the IPA malt, stir in half of the fonio, repeat. It was not entirely successful, but no matter, the fonio lautered like a charm even at 18+% of the mash.
The “easy” beer out of the way, I tackled the sort of high-concept design process I’ve become known for. One of my brewing mentors, Bruce Brode, passed away, and given his musical and polymath ways, I wanted to honor him with a saison for the Southern California Homebrewers Festival and took inspiration from the Fibonacci sequence (recipe below). This recipe leaned on fonio to provide earthy and spicy notes that would enhance the rustic characters of the other grain choices. The end result was complex, strange, and fun, while not being over the top “XXXXXTREEEEMEME.” (For a recipe like that, look back at the July-August 2025 “Techniques” column on brewing with fruit for my Dole Whip Tripel recipe.) The Fibonacci Saison was crisp, dry, earthy and rustic while being an overly complicated math joke that would make most people’s eyes glaze over. In other words, perfect.
Looking at the two recipes with fonio, you can see both the SMAH and playful recipe designs in action. You could reasonably substitute any number of other grains into the Fonio Gold and get a good result. But with the Fibonacci Saison, anything other than fonio would require other changes to deliver the desired flavor impact.
Fibonacci Saison, All-Grain
(6 gallons/23 L, all-grain)
OG = 1.087 FG = 1.008
IBU = 23 SRM = 6 ABV = 10.4%
A year ago, the Maltose Falcons lost one of our most important members – Bruce Brode. He was an incredibly talented brewer and confoundedly deep thinker about a wide range of self-learned subjects. He’s responsible, in part, for the broad scope of the Beer Judge Certification Program guidelines, worked tirelessly to promote judging and the Southern California Homebrewers Fest and was, importantly to the club, the keyboardist and chief arranger of the Maltose Falcons Brews Band.
He was very much a mentor to me. In his memory, I reached back to a party where he played a friend’s experimental musical composition designed around the Fibonacci sequence (aka 1,1,2,3,5 . . .). In that spirit, I created a recipe where everything (minus a mash temperature) was a Fibonacci number. I used both spelt, chit malt and fonio to provide additional earthy and rustic characters for a real Farmhouse feel. Sit back, this one is a bit crazy.
Ingredients
8 lbs. (3.6 kg) Weyermann Pilsner malt
5 lbs. (2.3 kg) Weyermann pale wheat malt
3 lbs. (1.4 kg) Weyermann Munich malt
2 lbs. (0.9 kg) fonio, pre-hulled, par cooked
1 lb. (0.45 kg) Crisp chit malt
1 lb. (0.45 kg) Weyermann spelt malt
5.4 AAU Magnum hops (89 min.) (0.45 oz./13 g at 12% alpha acids)
4.1 AAU Willamette hops (55 min.) (0.75 oz./21 g at 5.5% alpha acids)
1.2 oz. (34 g) Willamette hops (0 min.)
1 Campden tablet
Wyeast 3726 (Farmhouse Ale)
¾ cup corn sugar (if priming)
Step by step
I used a step mash, beginning with mashing all grains at 144 °F (62 °C) for 13 minutes and then raising the mash to 150 °F (66 °C) for 55 minutes. Mash out and vorlauf until runnings are clear. Collect 7 gallons (26.5 L) of wort and boil for 90 minutes, adding at times indicated.
When the boil is complete, cool and oxygenate wort, then pitch yeast and ferment at 63 °F (17 °C) for 7 days. Ramp to 70 °F (21 °C) and hold for 10 days. Keg and force carbonate or add priming sugar and bottle condition as usual.
Notes:
Use the same treatment of the fonio as in the Fonio Gold recipe.
Mash the World
With all the globe’s growth potentially at your fingertips, I hope these example techniques and philosophies encourage you to try things from beyond the classic European-inspired brewing traditions. There are multiple ancient varieties of wheat like emmer and einkorn that can bridge your brew back to those early moments of Sumerian record keeping. There are starchy crops used in other brewing practices like cassava and bananas to pull into your mash. Even old brewing favorites like maize are coming to life with heirloom varieties grown and malted.

Let your mash paddle explore the world, but as you do so, keep an eye toward good global citizenship. Particularly when crops are coming from vulnerable communities, make sure to buy from ethical sources that support the farmers. We don’t want a repeat of the quinoa health craze causing shortages in the Andes.
Beer brings people together the world over and now you can also bring the world into your beer!